Saturday, July 31, 2010

Colorful Corkboard


So you've got all of the coupons, important papers, pictures of friends, business cards and pictures your students or kids have drawn for you right? Where are they? STUFFED IN A BOX.  Well hey, why don't you drive your butt to hobby lobby, get a cork board for 5 bucks and paint yourself something cute to display all your invoices.  Let me tell you what you need.

-Cork board (small)
-Stencil or rubber stamp
-Paint (as many colors as you want, I used 3)
-Letters (they have cheap cute ones at Hobby Lobby)
-Sponge brush
-Regular paint brush
-Glue gun

Optional: 
-Ribbon


Here's how you pull this puppy off:

1.  Ya better let that glue gun heat up!

2. Since cork board can suck up paint, I like to just pour the paint around on the board itself.  After you're done doodling with paint globs, smooth the paint around and cover the board completely with your spongy brush making this your base coat

3. Whip out your stencil and sponge paint (in a different color) wherever you want your stencil places.  I had a victorian stencil in a strip so I just painted them side by side, covering the whole board.

4. Paint the wooden edges of the board in whatever color you'd like (or if you're feeling extra crafty, glue gun some ribbon).

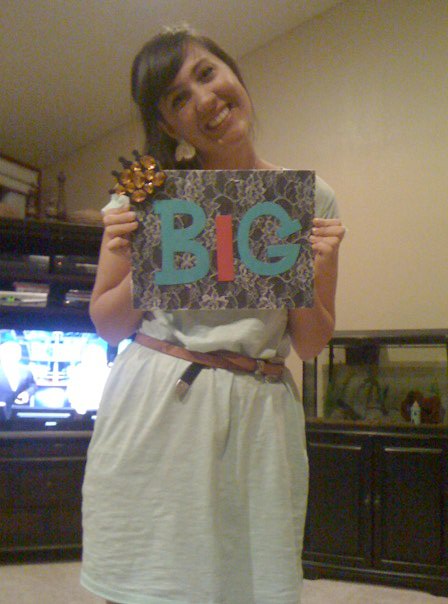
5. Glue on your letters to spell your name, favorite pet, business, favorite room or inspirational saying.  Mine says Emalee because I made it for my little.  Put them in the upper

6. If your letters were white like mine, you can paint them whatever color you'd like!

7. By now you're board should be pretty dry so you can add little touches.  I painted little dot clusters in blue randomly on mine.

Let that sucker dry and you're all done!  Proudly hang that beaut up on your dorm room wall, by your work desk or in your kitchen for cute, easy organizing.  Wahoo!

Bow/Hair Pin Holder


Need some place cute to put all of those sorority bows, baby bows or cutesy bobby pins other than a gross bowl?  I know right, it sucks when you have to dig through a jewelry box to find those beautiful gems you paid 4 bucks for at forever21.  Well now you don't!  Here's a super cute, functional and EASY idea for proudly displaying your awesome hair pieces.

Here's what you need:
-Frame of any size (Hobby Lobby always has them 50% off)
-Batting about 1/4 inch thick (runs for about $3 usually)
-Fabric of your choice (Hobby Lobby extras bin gets you good deals for under $2)
-Ribbon of your choice (usually <$1)
-Stencil or stamp(<$1)
-Small bottle of paint (<$1)
-Spongy paint brush
-Glue gun
-Stapler


Here's how you do it:
1. Take out the glass and back of the frame so you just have the outside.
(Start heating up that glue gun now!)

2. Paint on your stencil by holding the stencil in place and sponging on the paint with a sponge brush.  Do this in both long sides of your frame or all the way around!  (you can also use a rubber stamp to stamp images on if  you'd like).  Let it dry!

3. Now take the wooden back of the frame (you know the part that back the picture and has that pick that pops out and props up the frame? that one). Cut out a piece of batting that is the size of this frame back.

4. Cut out a piece of your fabric that is about an inch longer than the frame back.

5. Place batting on frame back and then fabric over the top so that the fabric wraps around to the back.

6. Whip out that trusty stapler and staple the fabric and batting in to the frame backing close to the edges (so the staples can be seen when you put it back in the frame).

7.  Cut a strip of ribbon so that it runs down the middle of this frame back and can wrap over about an inch and glue the ends of the ribbon on the backside.

8. Now put this frame back into the frame itself.  Since you've made it a bit bulkier than it used to be you might have to wiggle and push it in.

Now clip in your bows and barrette's and you've got a functional piece of art!  Proudly dust off those bobby pins and display them so all can see!


Thursday, July 29, 2010

Getting Lacy with ModgePodge


Need some cute back to school ideas for your big or little? Want some unique wall hangings for above your bed or dorm door? Well here's the perfect (CHEAP) idea for you!

What you'll need:
-Colored card stock or scrapbook paper of your choice (<$1)
-Small flat back canvas about the size of a sheet of paper($5 for pack of 3 at Michael's)
-Lace, any kind, a little bit larger than the canvas (I used my moms old curtains, but usually hobby lobby or craft stores have bins of extra fabric and usually have a small roll of lace for $2 or less)
-Modge Podge (about $2 for a small bottle)
-Black paint or whatever color you want underneath (<$1)
-Glue gun w/ glue (most go for $2.99 at hobby lobby)
-Spongy paint brush (<.30 at craft stores)

Optional:
Wooden decal (I chose a crown)(<$1)
Assortment of colored jewels (<$1 a pack)

Ok! Now on to the crafting part!!
1. Plug in your glue gun so it can warm up! Don't forget, carpet and glue guns are not besties so put your glue gun on a hard surface, preferably non flammable!

2. Paint your canvas with the color of your choice and let it dry.

3. Cut the lace so that it fits over the canvas with about an inch hanging off the sides.

4. Once your canvas is dry, put on a layer of Modge Podge and lay your lace on the canvas, pressing down lightly.

5. Dab your sponge brush in the Modge Podge and sponge the glue over the lace (strokes will only bunch up the lace and move it around, a spongy/dab like effect puts the glue on without the lace moving). Put it on thick until the entire lace fronting is covered. (if you're impatient, you can go ahead and put a blow drier to this puppy! It makes the Modge Podge dry fast!) Then glue gun the extra lace down on the back!

6. Cut out your desired letters or objects from your cardstock or scrapbook paper.

7. Layer on some more Modge Podge where you want your letters placed and stick those letters on.

8. Brush some Modge Podge over the top of the letters and dabbing around the edges to make them stick. Make sure to smooth out any bubbles while you the glue is still wet.

OPTIONAL:
1. Paint the wooden decal (I did a crown) and let it dry.

2. Pick out assorted jewels of your choice and place them on the decal and hot glue gun them as desired!

3. Glue gun the back of the decal and attach it to the corner of your lacy masterpiece.

Bam you're done! Once you've recovered from the fumes of the Modge Podge and can now stand without getting dizzy, go ahead and hang that beauty on your front door or above your bed and make all of your friends wonder why how you graduated from art school in 3 weeks. Awesome!

P.S. Here's a couple of my own creations (with the help of my little Emalee)